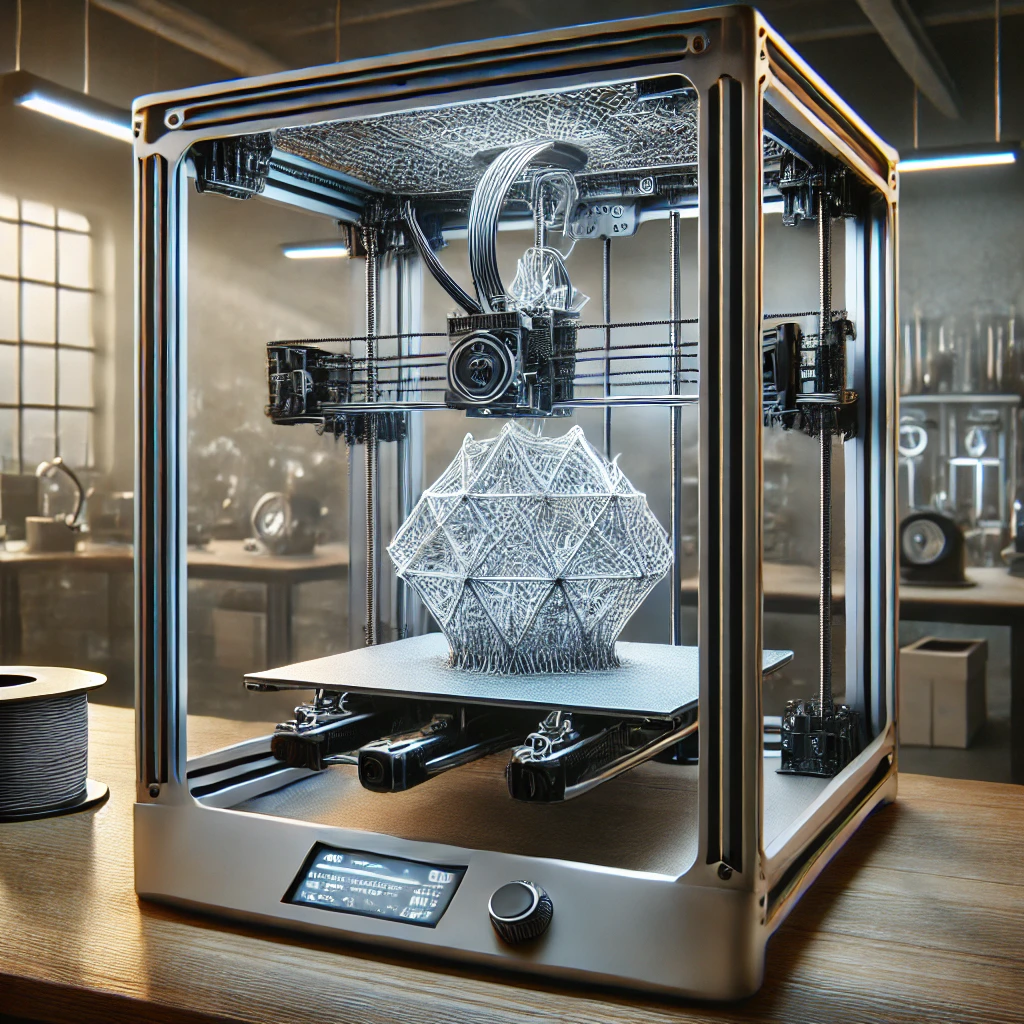
3D printers to print objects with supports

3D printing has revolutionized the way we create objects, allowing for intricate designs and customizations that were once impossible with traditional manufacturing methods. However, one common challenge many face is printing objects that require support structures. This guide will walk you through everything you need to know about using 3D printers to print objects with supports, ensuring you achieve flawless prints every time.
What Are 3D Printing Supports?
Supports in 3D printing are temporary structures that provide stability to overhanging or bridging parts of a print. These structures prevent sagging or collapse during the printing process. Once the print is completed, the supports are removed, leaving behind a clean, precise object.
Types of Support Structures
There are several types of support structures you can use, depending on the complexity and requirements of your print:
-
Tree Supports:
Resembling branches of a tree, these supports are ideal for minimizing material usage and reducing print time. They provide support only where necessary, which makes them great for complex or delicate prints. -
Grid Supports:
This is the most common type of support. It creates a dense, grid-like structure underneath the overhanging parts of your model. Grid supports are robust and provide excellent support but can be more challenging to remove. -
Linear Supports:
These are simple, straight lines that support the model. They are easier to remove than grid supports but may not provide the same level of stability for more complex prints.
Choosing the Right Support Material
When printing objects with supports, the material choice is crucial:
-
Same Material Supports:
Using the same material for both the print and the supports is common and works well for most prints. However, removing supports might be challenging, especially for delicate objects. -
Soluble Supports:
These are made from materials like PVA or HIPS that dissolve in water or limonene. Soluble supports are ideal for complex prints where support removal could damage the model. -
Breakaway Supports:
These are easier to remove than traditional supports. They are designed to snap off the print without leaving a mark, which is beneficial for delicate or high-detail models.
Best Practices for Printing with Supports
-
Optimize Support Placement:
Use your slicing software to customize where supports are placed. Focus on areas with overhangs greater than 45 degrees or spanning gaps to ensure stability without excessive material use. -
Adjust Support Density:
Higher density supports provide better stability but can be more challenging to remove. Finding the right balance based on your model’s complexity and the material used is key. -
Use Support Enforcers and Blockers:
Some slicing software allows you to manually add or block support structures. This feature gives you control over where supports are placed, reducing unnecessary material use and simplifying support removal. -
Test Your Settings:
Before printing the final model, run a test print to ensure your support settings are optimal. This step can save time and materials by preventing failed prints. -
Post-Processing:
Once the print is complete, carefully remove the supports using tools like pliers or a scraper. For soluble supports, immerse the print in water or the appropriate solvent to dissolve them away.
Mastering the use of supports in 3D printing is crucial for creating complex objects without compromising quality. By understanding the types of supports available, selecting the right materials, and following best practices, you can achieve stunning prints every time. Whether you’re a hobbyist or a professional, optimizing your 3D printing process with proper support structures will elevate your creations to the next level.


