“How to Use a 3D Printer: A Complete Beginner’s Guide”

How to Use a 3D Printer: A Beginner’s Guide to 3D Printing
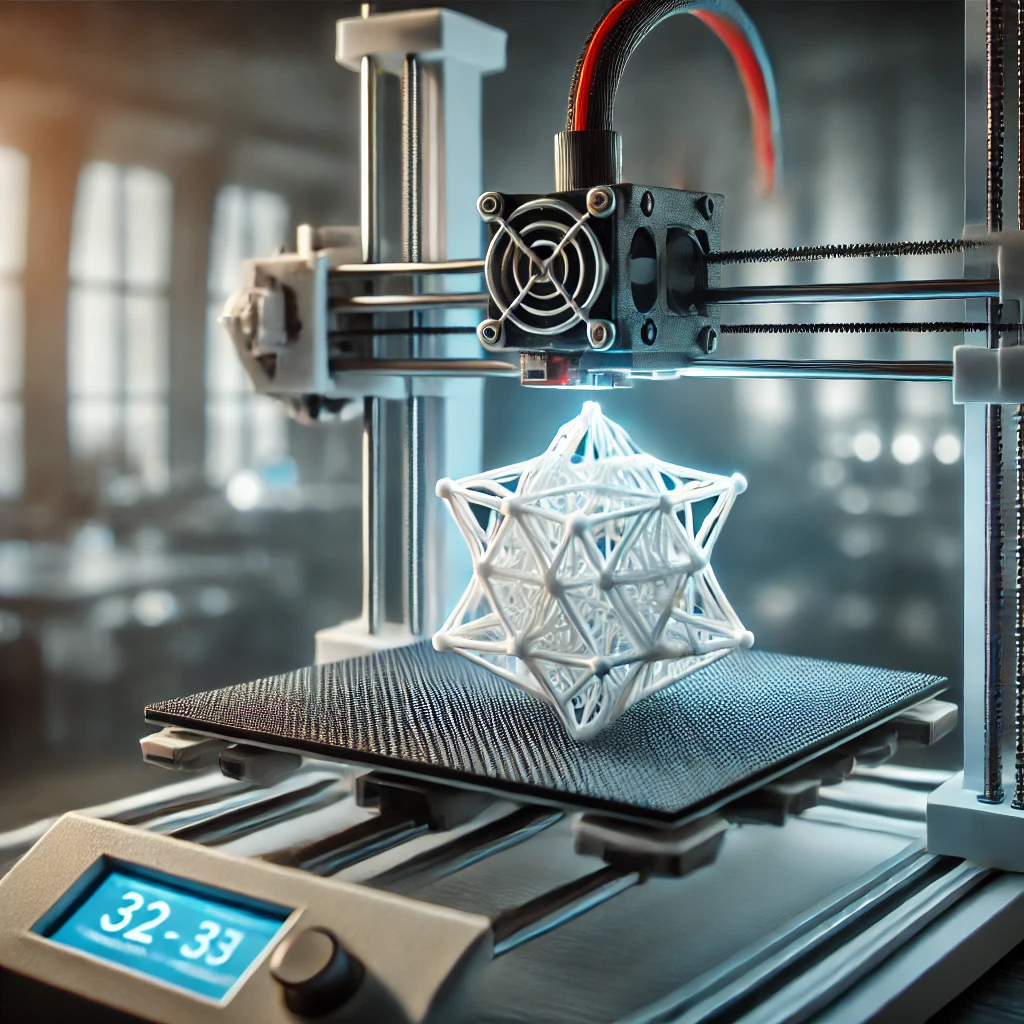
3D printing is revolutionizing the way we create and innovate, making it easier than ever to turn digital designs into physical objects. Whether you’re a hobbyist, designer, or engineer, learning how to use a 3D printer can open up a world of possibilities. This beginner’s guide will walk you through the essentials of 3D printing, from setting up your printer to creating your first print.
1. Understanding the Basics of 3D Printing
Before diving into the hands-on aspects, it’s important to understand what 3D printing is. 3D printing, also known as additive manufacturing, involves creating three-dimensional objects by laying down successive layers of material. Unlike traditional manufacturing, which often involves subtracting material, 3D printing builds objects layer by layer based on a digital model.
2. Choosing the Right 3D Printer
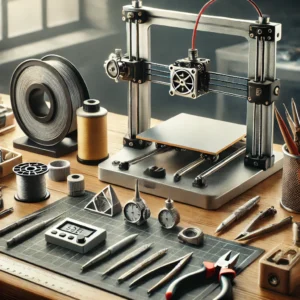
There are several types of 3D printers available, but the most common for beginners is the Fused Deposition Modeling (FDM) printer. This type of printer uses a spool of filament (usually plastic) that is melted and extruded through a nozzle to form the object. When choosing a 3D printer, consider factors like print quality, build volume, ease of use, and your budget.
3. Setting Up Your 3D Printer
Once you’ve chosen your printer, the next step is to set it up. This typically involves assembling the printer (if it’s a kit), leveling the print bed, loading the filament, and calibrating the printer. Proper setup is crucial for successful prints, so take your time and follow the manufacturer’s instructions carefully.
4. Creating or Downloading a 3D Model
To print something, you need a 3D model. You can create your own model using CAD (Computer-Aided Design) software, or you can download pre-made models from websites like Thingiverse or MyMiniFactory. When creating or choosing a model, ensure it’s optimized for 3D printing, with appropriate support structures and a solid design.
5. Slicing the Model
Before printing, the 3D model needs to be sliced into layers. Slicing software like Cura or PrusaSlicer converts your 3D model into a series of instructions (G-code) that the printer will follow. This step is critical as it determines the print’s quality, speed, and material usage. Adjust settings like layer height, infill density, and print speed to suit your needs.
6. Printing Your Object
With the model sliced and the printer ready, it’s time to print! Start the print and monitor the first few layers to ensure everything is going smoothly. Issues like poor bed adhesion or nozzle clogs can often be resolved early on. Depending on the size and complexity of your object, prints can take anywhere from a few minutes to several hours.
7. Post-Processing the Print
Once the print is finished, there may be some post-processing required. This can include removing support structures, sanding rough edges, or applying a finish to the object. The extent of post-processing depends on the print quality and your desired outcome.
8. Troubleshooting Common Issues
3D printing can be challenging, especially for beginners. Common issues include warping, layer shifting, and stringing. Fortunately, many of these problems can be solved with a few adjustments to your printer or settings. Online communities and forums can also be invaluable resources for troubleshooting.
Conclusion
Learning how to use a 3D printer opens up a world of creative possibilities. With a bit of practice and patience, you’ll be able to turn your ideas into reality. Whether you’re printing prototypes, art, or functional objects, 3D printing is a skill that will continue to grow in importance and accessibility.


