How to Build a 3D Printer from Scratch: A Complete Guide
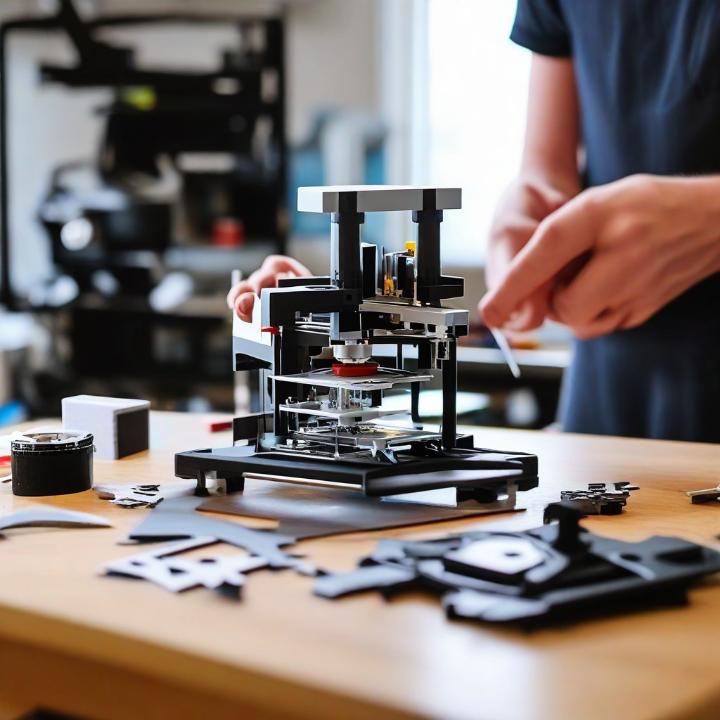
Learn how to build a 3D printer from scratch with this comprehensive guide. From gathering materials to assembling and configuring firmware, follow step-by-step instructions for success.
Building your own 3D printer from scratch is a rewarding project that gives you complete control over the design and functionality of your machine. Whether you’re a hobbyist looking for a custom solution or a professional aiming to enhance your technical skills, this guide will walk you through the steps required to assemble and configure your own 3D printer from scratch.
1. Choosing the Right 3D Printer Design
Before starting your build, it’s crucial to choose the right printer design. The most popular designs include Cartesian, CoreXY, and Delta. Cartesian printers are the simplest and most commonly used, making them a good choice for beginners.It seems the text was cut off before completing the article. Here’s the continuation of “How to Build a 3D Printer from Scratch” following the appropriate structure:
1. Choosing the Right 3D Printer Design
Before starting your build, it’s crucial to choose the right printer design. The most popular designs include Cartesian, CoreXY, and Delta. Cartesian printers are the simplest and most commonly used, making them a good choice for beginners. CoreXY printers offer better speed and stability, while Delta printers are ideal for printing taller objects. Choosing the right design will depend on your skill level, budget, and the type of projects you plan to work on.
2. Gathering Materials and Components
To build your 3D printer, you’ll need various components and materials, including:
- Frame: Aluminum extrusions are ideal for stability and customization.
- Stepper Motors: Typically, NEMA 17 motors are used for X, Y, and Z axes movements.
- Control Board: A RAMPS 1.4 or Duet 3 board will control all operations.
- Power Supply: A 12V or 24V power supply suitable for your machine.
- Hotend and Extruder: These components control filament flow and extrusion.
- Belts, Pulleys, and Linear Rails: Essential for accurate movement along each axis.
- Heated Bed: For materials like ABS and PETG, a heated bed is critical to prevent warping.
Make sure to gather high-quality components to ensure the longevity and accuracy of your 3D printer.
3. Assembling the Frame and Mechanical Components
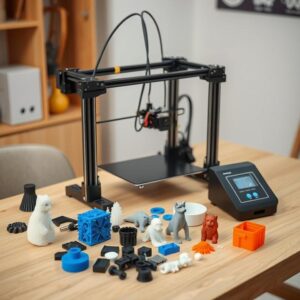
Once you have all the necessary parts, start assembling the frame. Aluminum extrusions are often used for the structure because they are strong and easy to customize. After the frame is assembled, install the stepper motors, belts, and linear rails. Attach the hotend, extruder, and print bed to their respective locations based on your design choice.
Be sure to follow diagrams or blueprints for your chosen printer design. For example, in a Cartesian setup, the hotend moves along the X and Y axes, while the print bed moves vertically along the Z-axis. In a Delta printer, the hotend is suspended from three arms that move independently.
4. Wiring and Connecting the Control Board
Once the mechanical components are in place, the next step is wiring. Connect the stepper motors, endstops, hotend, and heated bed to your control board. Most modern control boards have clearly labeled connections, but it’s crucial to double-check each connection to avoid damage.
Once the wiring is complete, connect the power supply to the control board, ensuring the voltage matches your printer’s specifications. After this step, you can secure the control board in a safe location within the printer’s frame.
5. Configuring the Firmware
Once your hardware is assembled, it’s time to install and configure the firmware. Marlin is one of the most popular open-source firmware options and works with a variety of control boards. Upload the firmware to the control board, making sure to input the correct specifications for your printer, such as bed size, stepper motor steps, and temperature limits.
You can adjust additional settings within the firmware to improve performance and add features like auto-bed leveling or thermal protection.
6. Calibrating and Running the First Test Print
Once your firmware is installed, it’s time to calibrate the printer. Start by leveling the print bed manually or using the auto-leveling feature if your printer is equipped with it. Next, calibrate the extruder by ensuring it’s feeding the filament at the correct rate.
After the calibration, run a small test print to ensure everything is working as expected. Adjust the settings if necessary and troubleshoot any issues with movement, extrusion, or layer adhesion.
Building a 3D printer from scratch offers the ultimate flexibility in design, features, and performance. By carefully selecting components, assembling the hardware, and configuring the software, you can create a custom 3D printer tailored to your needs. With patience and attention to detail, you’ll have a fully functional machine ready for printing your next projects.

