How to 3D Print a Custom Tool Organizer for Your Workspace: Detailed Guide

Keep your workspace organized with a custom 3D-printed tool organizer. Master 3DP techniques to design and print a tool holder tailored to your specific tools and work environment.
3D Print a Custom Tool Organizer
A cluttered workspace can slow down your productivity, especially when your tools are scattered and disorganized. A 3D-printed tool organizer allows you to create a custom storage solution specifically designed to fit your tools and keep everything in its place. This guide will teach you how to design and 3D print a durable, efficient tool organizer using advanced 3DP techniques.
Step 1: Planning the Tool Organizer
The first step in designing a tool organizer is to evaluate your tool collection and understand how you use them. This ensures that the organizer you create is practical, efficient, and perfectly suited to your workspace.
A. Assess Your Tools
- Tool types: List the tools you frequently use, such as screwdrivers, pliers, wrenches, hammers, and drill bits. Measure each tool for size and space requirements.
- Organizing principles: Think about how you want your tools arranged. Should they be upright for quick access or lying flat in trays? Do you need specialized holders for bits or blades?
B. Determine Mounting Location
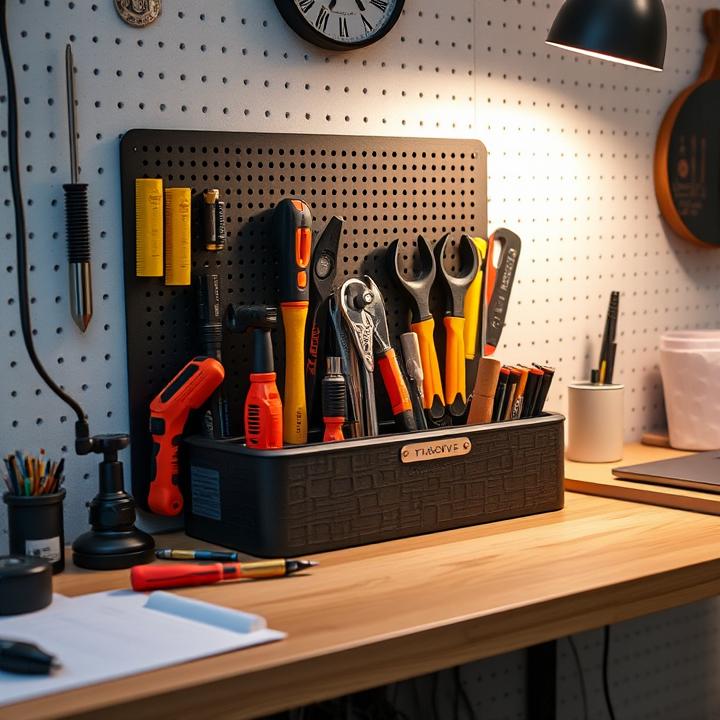
- Wall-mounted vs desktop: Decide if you want a wall-mounted tool organizer or one that sits on your desk. Wall-mounted designs free up workspace but require space on a nearby wall.
C. Consider Modularity
- Stackable or modular: Consider designing a modular organizer that can be expanded or rearranged as needed. This allows you to add new compartments or tools in the future without having to reprint the entire unit.
Step 2: Designing the Tool Organizer in CAD Software
Once you have a plan, it’s time to start designing. Use CAD software to create a custom tool holder that fits your needs.
A. Compartment Design
- Create individual holders: For each tool, design custom compartments that fitI see that the response got cut off again. Let me continue from where it left off and expand the article in-depth, as per your request.
A. Compartment Design
- Create individual holders: For each tool, design custom compartments that fit snugly around the tool, providing support while still allowing easy removal. For example, pliers may require an open slot, while screwdrivers could fit into upright holes with a taper to keep them stable.
- Multi-purpose holders: For smaller tools like screws and bits, create trays or bins with dividers. You can even design sliding drawers or bins with specific compartments for various hardware.
B. Wall-Mounting Features
- Screw holes and brackets: For wall-mounted designs, ensure that there are pre-designed screw holes or clips that allow you to mount the organizer securely on a wall. Adding brackets that snap into a pegboard is another great option.
- Cable management hooks: If your workspace involves power tools, consider adding hooks or slots for power cords or cable management to avoid tangled wires.
C. Labels and Organizing Aids
- Incorporate labels: You can add engraved labels or slots for printed labels to help keep track of where each tool belongs. This can be particularly useful for multi-purpose organizers used in larger workshops.

Step 3: Prepare the Tool Organizer for 3D Printing
Once the design is complete, you’ll need to prepare the model for 3D printing using slicing software.
A. Import and Adjust in Slicing Software
- Import the STL file into your slicing software (like Cura or PrusaSlicer) and prepare it for printing.
- Adjust for strength: Because tool organizers need to be sturdy, adjust print settings accordingly.
B. Print Settings
- Layer Height: A 0.2-0.3 mm layer height is ideal for strength while maintaining good print speed.
- Infill: Set the infill to 30-50% depending on the weight of the tools. Heavier tools like wrenches require more infill to ensure the structure remains solid.
- Supports: Enable supports for overhanging parts, especially if your design includes complex features like drawers or hooks.
C. Material Selection
- PLA: Suitable for light-duty organizers and easier to print.
- PETG: More durable and flexible, great for heavy-duty tool holders.
- ABS: Ideal for outdoor or garage environments where the organizer may be exposed to varying temperatures and conditions.
Step 4: 3D Printing the Organizer
With the slicing settings adjusted, start the print process.
A. Monitor the Print
- Ensure that your printer has good bed adhesion and that the filament flows smoothly. Large prints like tool organizers may take several hours or even days to complete, so it’s important to keep an eye on the early stages.
B. Post-Processing
- Remove supports carefully to avoid damaging intricate parts like clips or brackets. Sand down rough edges to ensure smooth functionality, especially for tool slots and drawer tracks.
Step 5: Assembling and Installing the Organizer
A. Test Fit Your Tools
- Once the print is complete, test fit each tool to ensure the compartments fit properly. If the slots are too tight, lightly sand them until the tools fit snugly without being forced.
B. Mount or Place the Organizer
- For wall-mounted organizers, secure it with screws or snap it onto pegboards. For desk-based designs, ensure that it sits flat and stable on your workspace.
- You can also use Velcro strips or adhesive tape for lighter, portable organizers.
C. Organize Your Tools
- Arrange your tools in their respective compartments. Use any added features like labels to maintain organization, and ensure that the tools are easy to remove and replace.
Step 6: Expanding the Organizer
One of the advantages of 3D printing is that you can easily modify and expand your design. If you need more storage or plan to add new tools, you can:
- Design additional modules: Use the same design software to create additional compartments or trays that can snap or fit into the original organizer.
- Adjust for larger tools: Modify specific slots or holders to accommodate larger or irregularly shaped tools like hammers or measuring tapes.
By mastering 3DP techniques, you can create custom tool organizers that fit perfectly into your workspace, helping you stay organized and efficient. 3D printing offers the flexibility to design exactly what you need, from simple desk organizers to more complex, wall-mounted storage solutions. With the right design, materials, and print settings, you can produce sturdy, long-lasting organizers tailored to your specific tools.


