How to 3D Print Custom Enclosures: A Step-by-Step Guide
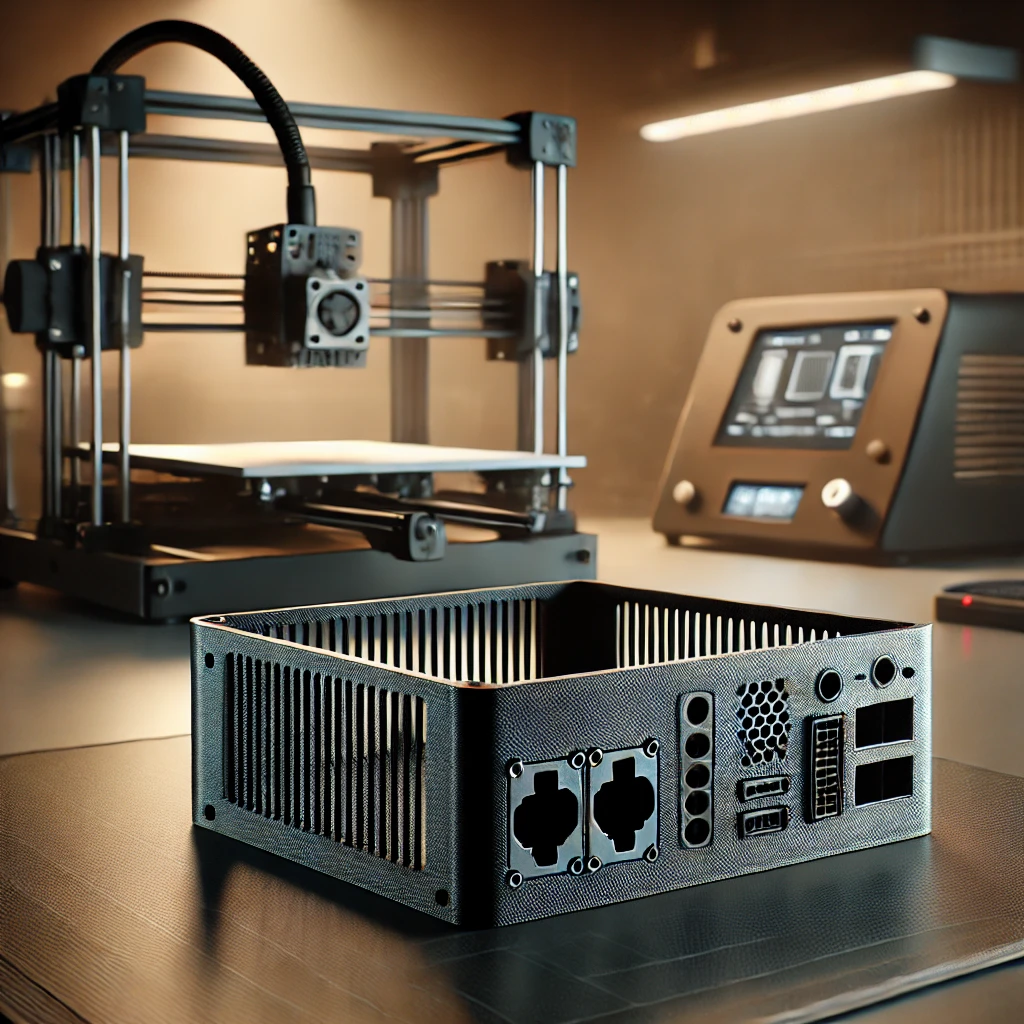
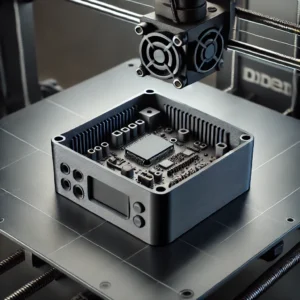
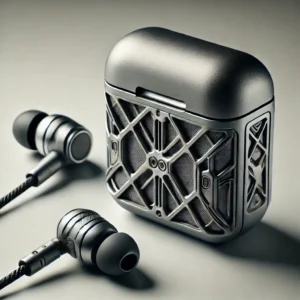
3D printing has revolutionized the way we approach product design, especially for custom enclosures. Whether you’re working on electronics, mechanical parts, or gadgets, 3D printing custom enclosures allows you to create personalized, precise, and functional designs tailored to your needs. In this article, we’ll guide you through the process of designing and printing enclosures that perfectly fit your components.
Why Choose 3D Printing for Custom Enclosures?
3D printing provides flexibility and cost-effectiveness when creating custom enclosures. Traditional methods, such as CNC machining, can be expensive for small batches. However, with 3D printing, you can prototype, test, and finalize your designs at a fraction of the cost.
Some benefits include:
- Customization: Tailor your enclosure to fit your exact requirements.
- Quick Prototyping: Print multiple iterations quickly for testing.
- Cost Savings: Avoid expensive tooling and setup costs.
- Material Options: Choose from various materials, including PLA, ABS, and PETG, depending on the use case.
Steps to 3D Print Custom Enclosures
1. Design Your Enclosure
The first step is to design your custom enclosure using CAD software like Fusion 360 or TinkerCAD. Consider the dimensions of your electronic components and how they will fit within the enclosure.
- Internal Components: Measure your circuit boards, connectors, or batteries accurately.
- Mounting Features: Design mounting points or holes for screws and fasteners.
- Ports and Openings: Ensure proper spacing for cable ports, ventilation, or buttons.
Use parametric design features, which allow you to easily modify dimensions as needed.
2. Choose the Right Material
The material you select for your enclosure affects its durability and performance. Some popular choices include:
- PLA: Great for quick, inexpensive prototypes.
- ABS: Durable and resistant to high temperatures.
- PETG: A good balance between flexibility and strength.
Consider your enclosure’s intended use when selecting materials.
3. Optimize Print Settings
To get the best quality print, you’ll need to optimize your slicer settings. These settings include:
- Layer Height: For a smoother surface finish, choose a layer height between 0.1 to 0.2 mm.
- Infill: Use higher infill percentages for stronger enclosures, typically 20-40%.
- Supports: Ensure supports are placed where necessary, especially for overhangs.
Print speed and temperature should match the material you’re using to avoid defects like warping or layer adhesion issues.
4. Post-Processing and Finishing
Once your enclosure is printed, you may need to finish it for a professional look. Sanding, priming, and painting can all improve the appearance and durability of your final product.
- Sanding: Start with a coarse grit and work your way to finer grits for a smooth finish.
- Painting: Use a primer before applying paint for a polished look.
- Sealing: For outdoor enclosures, consider sealing with epoxy or a waterproof coating.
Best Applications for 3D Printed Enclosures
Custom enclosures are useful in various applications, including:
- DIY Electronics: Create enclosures for Arduino, Raspberry Pi, and other DIY projects.
- Mechanical Components: Protect gears, motors, and other mechanical parts.
- Prototyping: Test product designs and functionality with 3D printed cases before mass production.
By using 3D printed enclosures, you ensure that every part of your project is well-protected and functions properly.
Incorporating 3D print custom enclosures into your workflow can save time and costs, while also allowing for unique, tailored designs. By following the steps outlined above, you’ll be able to design and print enclosures that meet your project’s specific needs.
Visit our other website :pipwr.com
Explore more on how 3D printing can transform your designs by checking out additional resources, tutorials, and materials.

