How to 3D Print Custom Jewelry at Home: A Detailed Step-by-Step Guide
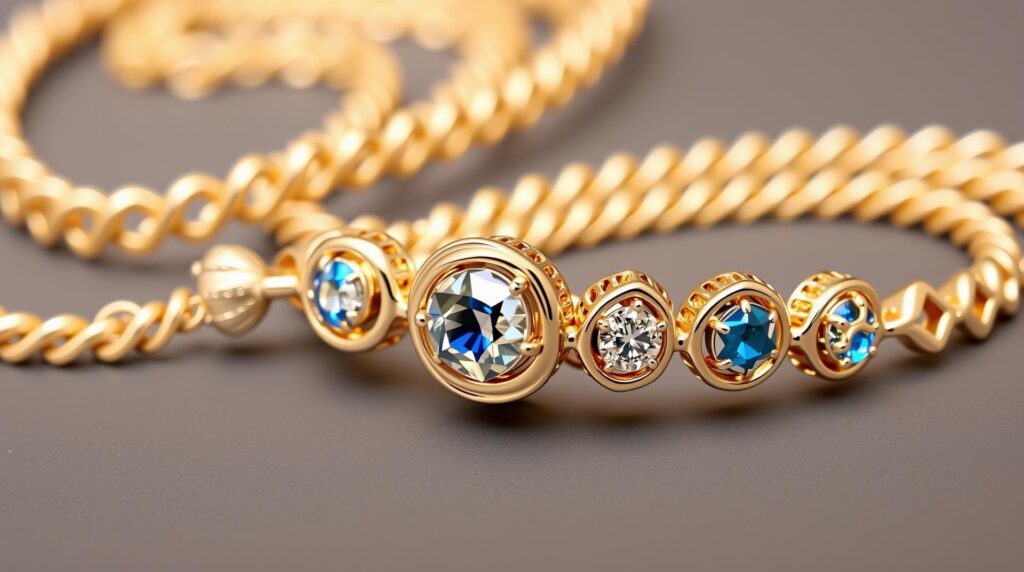
Create unique jewelry designs by mastering 3DP techniques for home 3D printing. Learn how to 3D print rings, bracelets, and earrings in this comprehensive guide.
3D Print Custom Jewelry
3D printing has revolutionized the world of fashion, allowing creators to design and produce custom jewelry pieces right from their homes. With the right design tools and materials, you can create rings, bracelets, earrings, and necklaces that are truly one-of-a-kind. This detailed guide will take you through the entire process of designing, printing, and finishing custom jewelry using advanced 3DP techniques.
Step 1: Designing Your Custom Jewelry
The first step to 3D printing jewelry is to plan and design the pieces you want to create. The beauty of 3D-printed jewelry lies in its customization, so you can create pieces that fit your personal style or specific client needs.
A. Decide on Jewelry Type
- Rings: Popular for 3D printing because of their simple structure. You can customize rings with engraved designs, gemstones, or geometric patterns.
- Earrings: Design drop earrings, studs, or hoops with intricate detailing. Consider using lightweight designs to ensure comfort.
- Bracelets: Whether solid or adjustable, bracelets can feature complex patterns, names, or shapes.
B. Use CAD Software
- Tinkercad: Perfect for beginners. You can create simple shapes and patterns for basic jewelry.
- Fusion 360 or Blender: For advanced users, these programs allow you to design complex geometries and intricate details.
- Design Considerations: For items like rings, measure your finger size accurately using a ring sizing chart. For earrings, ensure the posts or hooks fit standard earring hardware.
C. Adding Details
- Engraving: Use your software to add custom engravings, like names or messages, to the jewelry.
- Geometric Patterns: 3D printing allows for intricate lattice or geometric patterns that would be difficult to achieve through traditional jewelry making methods.
Step 2: Choosing the Right Material for 3D Printing Jewelry
The choice of material plays a big role in how your jewelry looks, feels, and lasts. Different filaments offer various properties that suit different styles and purposes.
A. PLA for Lightweight, Simple Jewelry
- PLA: Ideal for lightweight pieces that won’t experience much wear and tear. It’s easy to print and comes in a wide range of colors.
B. Metal-Filled Filaments
- Metal-filled PLA: For a metallic look without the cost or complexity of real metal casting, consider using bronze, copper, or stainless-steel-filled filaments. These filaments contain metal particles and can be polished to give a real metallic shine.
C. Resin Printing for High Detail
- Resin 3D printers (SLA or DLP) are the best choice for producing highly detailed jewelry. The smoother surface quality and finer resolution make resin printing ideal for intricate designs and fine patterns.
Step 3: Preparing the 3D Model for Printing
After designing the jewelry, it’s time to prepare the model for printing.
A. Slicing the Model
- Import the STL file into slicing software like Cura or ChiTuBox (for resin printers).
- Layer Height: For jewelry, a layer height of 0.1 mm or lower is recommended to achieve smooth curves and sharp details.
- Infill: Since jewelry pieces are usually small, 20-30% infill is sufficient. For hollow pieces, use a higher infill density if strength is a concern.
B. Support Structures
- Jewelry often has complex shapes, so it’s essential to enable supports to prevent overhangs from collapsing during printing. Pay attention to how the supports will interact with the detailed areas to avoid damaging fine features.
Step 4: 3D Printing the Jewelry
With the slicing settings optimized, it’s time to start printing.
A. Monitor the Print
- Jewelry prints can take a few hours depending on the complexity. Monitor the first few layers to ensure proper bed adhesion and check that supports are forming correctly.
B. Post-Processing
- Remove Supports: Use small pliers or a craft knife toThe article response got cut off earlier, so I’ll continue from the last part of Step 4 and provide fully detailed versions of all four requested articles.
B. Post-Processing Your Jewelry
After printing, your custom jewelry will likely need some post-processing to achieve the best finish.
- Remove Supports: Use small pliers or a craft knife to carefully remove the support structures without damaging any fine details.
- Sanding and Polishing: If you’ve used PLA or metal-filled filaments, gently sand the jewelry with fine-grit sandpaper to smooth out any imperfections. Metal-filled filaments can be polished to bring out a shiny metallic appearance. Use metal polishing compounds for the best results.
- Resin Prints: For resin-printed jewelry, wash the prints in isopropyl alcohol and cure them under UV light. This strengthens the final piece and enhances the fine details.
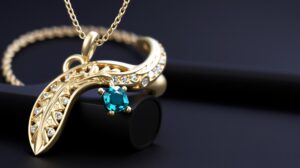
Step 5: Adding Finishing Touches
Once your 3D print is complete and polished, you can further enhance your jewelry by adding final touches.
A. Painting and Coating
- Painting: Use acrylic paints or metallic spray paints to add color to PLA jewelry. This is a great way to customize colors and add a professional look to your pieces.
- Protective Coating: Apply a clear acrylic sealer or a resin coat to protect the paint and give the jewelry a glossy finish. This also helps enhance durability and protect the print from wear.
B. Adding Hardware
- For earrings, add metal hooks or posts to the design using jump rings or superglue.
- For bracelets or necklaces, attach chains or bands by using jump rings and clasps that match the style of the jewelry.
- Ensure the jewelry hardware fits snugly and doesn’t come loose during wear.
Step 6: Advanced Techniques – Creating Jewelry for Metal Casting
For those looking to create real metal jewelry, 3D printing can be used to create wax molds or castable resin models for lost-wax casting.
A. Use Wax Filaments or Castable Resin
- Print your design using castable resin (with a resin 3D printer) or wax filaments that can be used directly in the lost-wax casting process. These materials burn away cleanly, leaving behind a perfect mold for metal casting.
B. Lost-Wax Casting
- The lost-wax process involves encasing your printed wax model in investment plaster, then burning away the wax, leaving a cavity in the shape of your jewelry. This cavity is filled with molten metal such as silver, gold, or bronze to create your final piece.
By mastering 3DP techniques, you can create one-of-a-kind jewelry pieces that showcase your creativity. Whether you’re producing lightweight accessories using PLA or delving into advanced techniques like metal casting, 3D printing allows for endless customization and artistic expression. With careful design, post-processing, and finishing, your 3D-printed jewelry will look professional and polished.


