How to Generate a 3D Model from Multiple Images: A Step-by-Step Guide
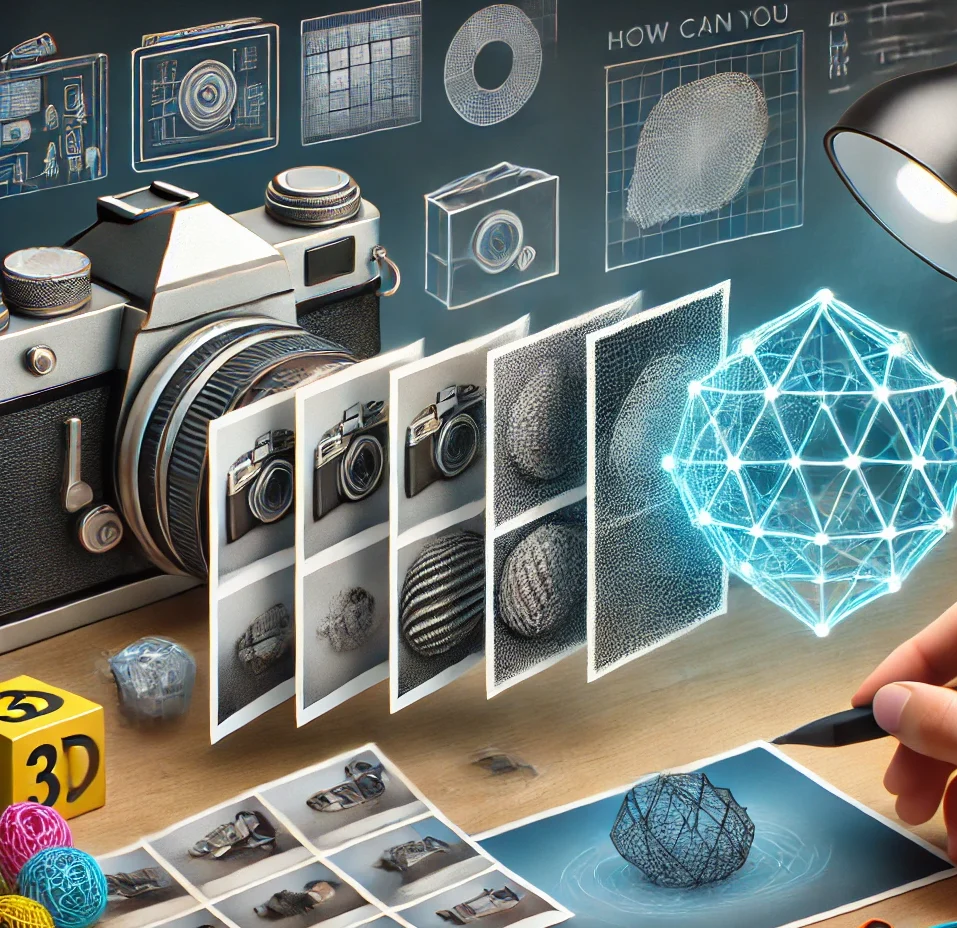
In the digital age, 3D modeling has transformed from a highly specialized field into a more accessible and widely used skill, applicable in industries like gaming, filmmaking, architecture, and digital art. The rise of photogrammetry has played a significant role in this shift. Photogrammetry is the process of creating 3D models from photographs taken from multiple angles, and in recent years, it has become an essential tool for creating realistic digital representations of objects and scenes.
Whether you’re a professional in architecture looking to create virtual models of buildings or a hobbyist in the gaming industry working on new environments, photogrammetry can help you generate highly detailed and accurate 3D models from just a few photographs. This guide will take you through the process step-by-step, covering everything you need to know to start generating 3D models from multiple images in 2024.
What is 3D Modeling?
Before diving into the technicalities of creating a 3D model from images, it’s important to understand the basics of 3D modeling itself. 3D modeling is the process of creating a three-dimensional digital representation of an object, environment, or scene. These models are used in various industries, from game design to virtual reality, product design, and architecture.
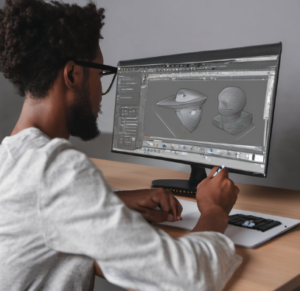
In the past, 3D modeling required manual input from skilled artists using software like Blender, Autodesk Maya, or ZBrush. Artists would sculpt models by manipulating vertices and polygons to create realistic representations of physical objects. While this method is still widely used, photogrammetry offers an automated alternative, providing a faster and often more accurate way to create 3D models, especially from real-world objects.
In 3D modeling, the final output can be a digital object that can be rendered into images or animated, used in 3D printing, or imported into virtual environments. The level of detail, accuracy, and realism is crucial in industries like film and gaming, where creating lifelike environments and characters is a priority.
Understanding the Process: How Multiple Images Create a 3D Model
The core concept behind creating 3D models from multiple images is photogrammetry. This process involves using multiple 2D images taken from different angles and calculating the 3D coordinates of various points on the object or scene. The software uses the overlapping areas in the photos to identify corresponding points, then calculates the geometry and depth of the object based on these points.
How Does Photogrammetry Work?
Photogrammetry works by identifying common features across all images, such as corners, edges, and textures. The software detects these features in each image and aligns them to create a three-dimensional representation of the object. With enough photos taken from various perspectives, the software can generate a highly accurate 3D model. The more images and angles you provide, the better the model will reflect the real-world object.
The Role of Image Quality
The quality of the images plays a significant role in the accuracy of the model. High-resolution, sharp images with plenty of detail help the software identify more points, resulting in a more precise model. Low-resolution or blurry images may lead to incomplete or inaccurate models. It’s also essential to ensure there is enough overlap between the images to give the software the data it needs to align the photos properly.
Tools and Software Needed
To generate a 3D model from multiple images, you need both the right software and hardware. Below are some of the best photogrammetry tools available in 2024, along with hardware requirements.
Best Photogrammetry Software
-
Agisoft Metashape (formerly PhotoScan) Agisoft Metashape is a leading software for photogrammetry that allows you to process photos into high-quality 3D models. It supports a wide range of image formats and includes features such as automatic image alignment, dense cloud generation, mesh building, and texture mapping. Its versatility makes it a great choice for professionals in fields like archaeology, architecture, and film production.
-
Meshroom Meshroom is an open-source photogrammetry tool that allows users to create 3D models from photos without any cost. It provides a node-based interface that gives users a high degree of control over the modeling process. Meshroom is ideal for beginners and those on a budget but still offers powerful capabilities for generating detailed models.
-
RealityCapture RealityCapture is a professional-grade photogrammetry software that is known for its speed and accuracy. It’s particularly favored by industries requiring fast turnaround times, such as film production and game design. RealityCapture supports both photos and LiDAR data, making it a versatile choice for creating high-quality 3D models from real-world objects and scenes.
-
CloudCompare CloudCompare is another open-source tool that is often used in combination with other software for more advanced point cloud processing. While it’s less intuitive than Meshroom, it offers a wealth of powerful tools for users who need to work with point clouds or generate detailed meshes from photogrammetry data.
Hardware Requirements
While the software is important, the right hardware is also crucial for processing photogrammetry data. For the best results, you should have a good-quality camera, ideally a DSLR or mirrorless camera with manual controls, as well as a powerful computer for processing the images.
- Camera: Any camera that allows you to take high-resolution, detailed photos will work. For best results, consider using a DSLR or mirrorless camera, as these will provide greater control over settings such as exposure and focus.
- Computer: A high-performance computer is needed to process the large amounts of data involved in photogrammetry. At a minimum, you should have a multi-core processor, a strong graphics card, and ample RAM. A system with at least 16 GB of RAM and a dedicated GPU is recommended for smooth processing.
Step-by-Step Guide to Generating 3D Models from Images
Now that you have a general understanding of how photogrammetry works and the tools you’ll need, let’s walk through the step-by-step process of creating a 3D model from multiple images.
Step 1: Preparing Your Images
Before you can begin processing your photos, you need to capture them correctly. The quality and consistency of your images will have a direct impact on the accuracy of your 3D model.
- Lighting: Proper lighting is essential for capturing clear images. Natural daylight is often the best, but if you’re working indoors, make sure the lighting is even and free from harsh shadows.
- Angles: Capture your object or scene from multiple angles, ensuring that each photo overlaps with the others. The more angles you cover, the better the software can align the images to create an accurate model.
- Resolution: High-resolution images are vital for achieving a detailed model. Use the highest resolution setting on your camera to capture as much detail as possible.
Step 2: Importing and Aligning the Images
Once you have your images, you can import them into your chosen photogrammetry software. Most programs will automatically align the images and generate a sparse point cloud, which is a rough model made up of key points detected in the images.
Some software options, like Agisoft Metashape, offer advanced alignment features that automatically detect common points in the images and align them with high accuracy. However, you may need to manually adjust the alignment in some cases.
Step 3: Generating the 3D Mesh
After the alignment is complete, the next step is generating the 3D mesh. The mesh is the digital skeleton of the object, consisting of polygons that define its shape. The software will use the data from the aligned images to calculate the positions of these polygons.
This step may take some time, depending on the number of images and the complexity of the object. Once the mesh is created, you can proceed to refine it.
Step 4: Refining the Model
With the 3D mesh generated, the next step is to refine the model. This involves adding textures and details to give the model a realistic appearance. The software will project the textures from the original photos onto the 3D mesh, creating a textured surface that closely resembles the real-world object.
You can adjust the resolution of the texture and make any necessary edits to improve the model’s appearance, such as smoothing rough edges or filling in any gaps.
Step 5: Exporting the Model
Once you are happy with your 3D model, you can export it into a format suitable for your project. Most software allows you to export models in popular formats such as OBJ, FBX, or STL. These formats are compatible with 3D rendering software, game engines, or 3D printers.
Tips for Better Results
- Consistency: Ensure that the lighting, camera settings, and angles remain consistent across all images.
- Overlap: Aim for a 60-70% overlap between each photo to improve the alignment process.
- Use a Tripod: A tripod can help stabilize your camera and ensure that the angles remain consistent.
Challenges in Image-Based 3D Modeling
While photogrammetry is a powerful tool, there are challenges to consider. Poor lighting, image quality, and insufficient overlap between photos can all lead to inaccuracies in the final model. Additionally, highly reflective or transparent objects can be difficult for the software to process correctly.
The Future of 3D Modeling from Images
In 2024, photogrammetry continues to evolve. Advances in artificial intelligence and machine learning are enabling software to process images faster and with greater accuracy. The integration of 3D scanning and AR (augmented reality) technologies is also pushing the boundaries of what’s possible in 3D modeling, creating even more efficient workflows.
Generating 3D models from multiple images has become more accessible than ever, thanks to advancements in photogrammetry software and hardware. By following this guide and using the right tools, anyone can create detailed and realistic 3D models from a simple set of photographs. With the technology continuing to improve, the possibilities for 3D modeling in 2024 and beyond are boundless.
Feel free to check out our other website at : https://synergypublish.com

