How to Remove Supports from 3D Prints

Removing supports from 3D prints is a crucial step in achieving a clean, professional finish for your projects. Whether you’re a beginner or an experienced maker, understanding the right techniques and tools for removing supports can make a significant difference in the quality of your final prints. In this guide, we will walk you through everything you need to know about removing supports from your 3D prints effectively.
Understanding 3D Print Supports
Supports are essential in 3D printing, especially for models with overhangs or complex geometries. These temporary structures prevent sagging or collapsing during the printing process. However, once the print is complete, these supports need to be removed carefully to avoid damaging the print.
Tools You Will Need
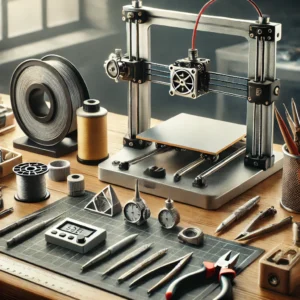
To remove supports from 3D prints, you’ll need a few basic tools:
-
Pliers:
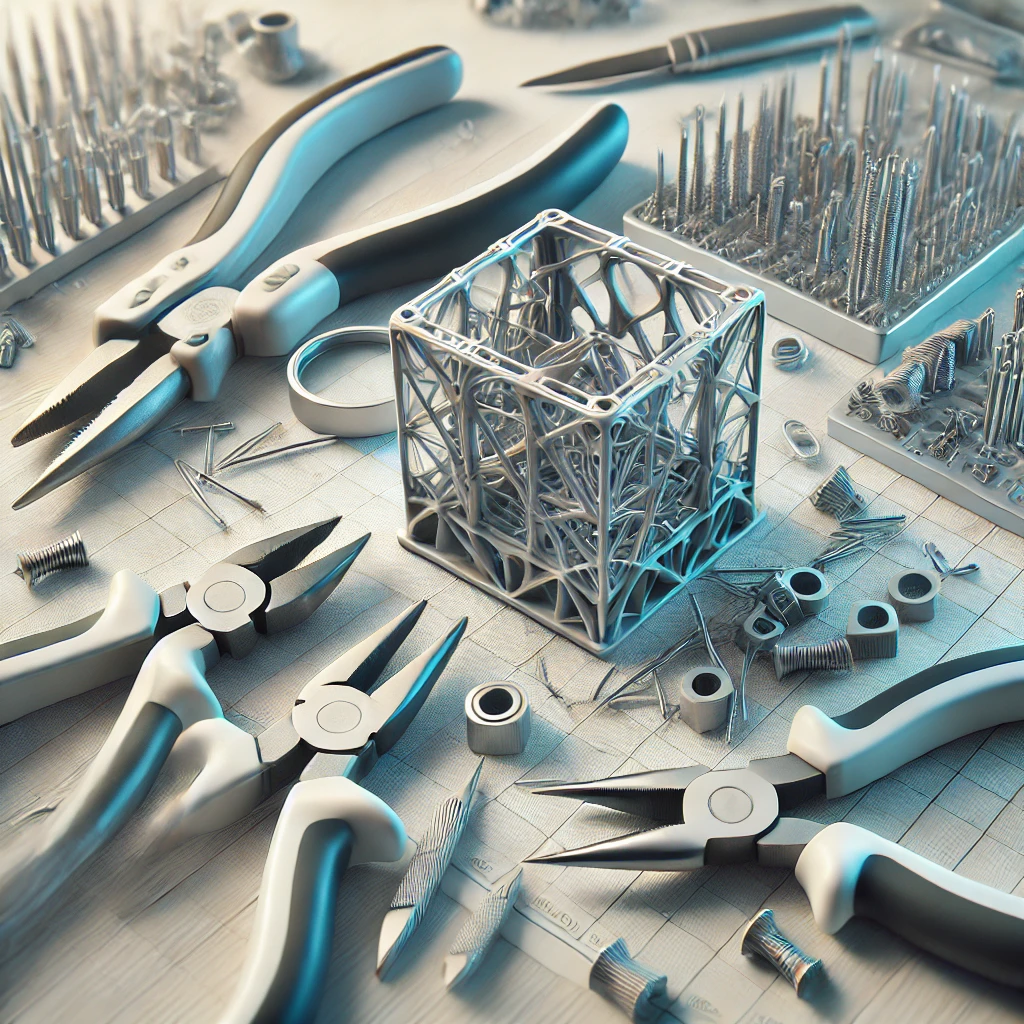
Needle-nose pliers are ideal for gripping and pulling away support structures. -
Cutters:
Flush cutters or small scissors can help snip away support material cleanly. -
Sandpaper:
Fine-grit sandpaper can smooth out any rough areas after the supports are removed. -
Utility Knife or Scalpel:
A sharp blade can help carefully cut away stubborn supports. -
Tweezers:
Useful for picking out small pieces of support material from delicate areas.
Step-by-Step Guide to Removing Supports
-
Assess the Model:
Before starting, carefully examine your 3D print to identify where the supports are attached. This will help you plan the best way to remove them without damaging the model. -
Start with the Largest Pieces:
Use pliers to gently pull away the largest support structures. Hold the model steady and apply gradual pressure to avoid snapping off any parts of the print. -
Snip Away Smaller Supports:
Once the larger supports are removed, use cutters to snip away smaller, more detailed supports. Be cautious not to cut too close to the model to prevent gouging the surface. -
Use a Knife for Stubborn Areas:
For supports that are hard to reach or tightly attached, carefully use a utility knife or scalpel. Work slowly to avoid accidentally cutting into the print. -
Sand and Smooth:
After all supports are removed, use fine-grit sandpaper to smooth out any rough edges or surfaces where the supports were attached. This step will enhance the final appearance of your model. -
Inspect the Model:
Finally, inspect your model for any remaining support fragments or rough spots. Make any necessary touch-ups to ensure your print is clean and ready for display or further use.
Tips for Better Support Removal
-
Choose the Right Support Type:
Depending on your 3D printing software, you can select different types of supports, such as tree supports or grid supports. Choosing the right type can make removal easier. -
Adjust Support Density:
Lowering the support density in your slicer settings can make supports easier to remove, but ensure it still provides adequate support during printing. -
Use Water-Soluble Supports:
For dual-extruder printers, consider using water-soluble filament for supports. These can be dissolved in water, leaving behind a clean print with minimal effort. -
Apply Heat:
Gently heating the supports with a hairdryer or heat gun can sometimes make them easier to remove, as the plastic becomes slightly more pliable.
Removing supports from 3D prints may seem daunting, but with the right tools and techniques, it can be done efficiently and effectively. By following this guide, you can ensure that your 3D printed models are free of support marks and look as polished as possible.


