How to Turn a Single Picture into a 3D Model: A Step-by-Step Guide

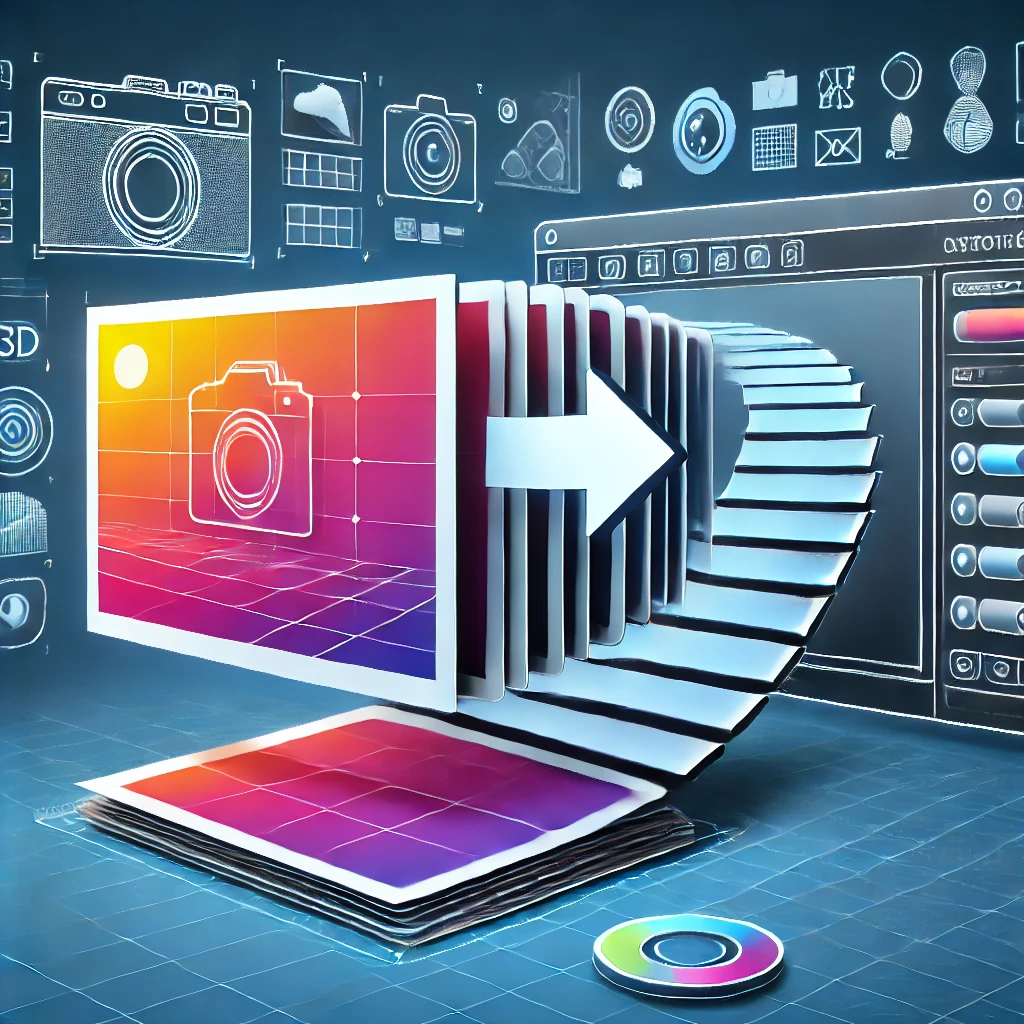
In recent years, the ability to turn a single picture into a 3D model has become a powerful tool for digital artists, game developers, engineers, and hobbyists alike. With the rise of affordable and intuitive software, even beginners can now transform a 2D image into a 3D model. This ability opens up a range of creative opportunities, from designing objects for 3D printing to building assets for video games or creating animations.
As of 2024, the process of converting a single 2D image into a 3D model has been streamlined with advancements in artificial intelligence, photogrammetry, and user-friendly design tools. Whether you’re working on a personal project or a professional one, turning a picture into a 3D model can be a rewarding and insightful process.
In this comprehensive guide, we’ll walk you through the steps involved in converting a single picture into a 3D model. We’ll cover the essential tools, preparation tips, step-by-step instructions, and the techniques used by professionals in 2024. By the end of this article, you’ll have all the knowledge you need to start creating 3D models from images.
Understanding 3D Modeling
Before we dive into the technicalities of converting a 2D image into a 3D model, it’s important to first understand the basics of 3D modeling.
At its core, 3D modeling is the process of creating a three-dimensional representation of an object or scene. 3D models are used in a wide range of industries such as animation, gaming, architecture, and product design. These models are typically created using specialized software, which allows users to manipulate 3D shapes, apply textures, and add details.
In the context of converting a 2D image into a 3D model, the software uses algorithms to analyze the 2D image and estimate the depth and dimension of the object in the image. The software typically interprets light, shadow, and contrast to build an approximation of how the object would appear in three dimensions.
The result is a 3D mesh—a digital representation of the object in three-dimensional space—complete with textures, depth, and, in some cases, animation rigging.

Step 1: Choosing the Right Software
There are numerous tools and software applications available to help you turn a 2D picture into a 3D model. Depending on your experience level, needs, and budget, the software you choose will vary. Below are some of the most popular options for 2024:
1. Blender
Blender is an open-source 3D creation suite that is popular among professionals and hobbyists alike. It is a powerful tool with a range of features for modeling, sculpting, texturing, and rendering 3D objects. Although Blender is a robust program with a steep learning curve, it offers complete freedom for users to manipulate 3D models. In addition, its open-source nature makes it free to use, which is an appealing feature for those on a budget.
While Blender doesn’t have built-in automatic tools to turn a single picture into a 3D model, it offers manual techniques for displacement mapping and texture mapping, allowing you to create accurate 3D representations of objects. Blender also supports photogrammetry-based workflows if you have access to multiple images.
2. Autodesk ReCap
Autodesk ReCap is a specialized tool designed for photogrammetry, which is the process of turning images into 3D models by analyzing depth, shape, and texture. Unlike Blender, Autodesk ReCap allows users to convert a series of photos (or a single high-quality image) into a 3D model with minimal manual input. In 2024, ReCap has become a powerful tool with AI-driven features that make the conversion process even faster and more accurate.
ReCap integrates seamlessly with other Autodesk software such as AutoCAD and Maya, making it a go-to tool for professionals in engineering and architecture.
3. 3DF Zephyr
3DF Zephyr is another advanced tool for photogrammetry, capable of turning photos into highly detailed 3D models. 3DF Zephyr works well with single images, although multiple images can improve the results. The software automatically analyzes the photo to generate depth and volume, producing a 3D object that can be used for printing, rendering, or animation.
This tool has both a free version for basic users and paid versions with more robust features. The AI-powered algorithms in Zephyr are constantly improving, ensuring that even beginners can generate impressive 3D models from images.
4. Meshroom
For those on a tight budget, Meshroom is a free, open-source alternative for photogrammetry. It is based on the AliceVision framework, which provides advanced photogrammetry capabilities. Meshroom supports both single and multiple image processing, but its real strength lies in the ability to handle larger projects and more complex modeling tasks.
Like Blender, Meshroom requires more manual intervention to perfect the models, but it is an excellent choice for those wanting to learn the ins and outs of photogrammetry without investing in expensive software.
Step 2: Preparing Your Image
The quality of the image you choose plays a pivotal role in the success of the modeling process. Here are some important tips for preparing your picture:
1. High-Resolution Image
For optimal results, always use a high-resolution image. Low-quality images, with poor focus or pixelation, will create inaccurate 3D models. A high-resolution image provides more details for the software to process, leading to a better and more accurate 3D output.
2. Proper Lighting
Good lighting is crucial for a successful 3D model conversion. Images with clear shadows and highlights help the software understand the depth and form of the object in the picture. A poorly lit or overly bright image can lead to inaccurate depth estimation, resulting in a flat or distorted 3D model.
Soft, diffused light is often the best choice. Avoid harsh shadows and bright reflections, as these can confuse the software.
3. Simple Background
The background of your image should be as simple as possible. A clean background with minimal distractions allows the software to focus on the object in the image. Cluttered backgrounds can interfere with the model generation process.
If the object in your image is too complex or has background noise, consider editing the image in a photo editing software like Photoshop to remove unnecessary elements.
4. Multiple Angles (If Possible)
While this guide focuses on turning a single image into a 3D model, having multiple angles of the object can significantly improve the accuracy of your model. If you have access to several images, even if it’s just a few, you can use photogrammetry software like Autodesk ReCap to create a more detailed and accurate 3D model.
However, if you’re working with only one image, the software will rely on algorithms to infer depth from shadows and textures, which can still yield impressive results.
Step 3: Converting the Image to 3D
Now comes the exciting part: turning your image into a 3D model. Here’s how to do it with Blender and Autodesk ReCap.
Using Blender
-
Importing the Image
- Start by opening Blender and creating a new project.
- Navigate to the “File” menu, then select “Import Image as Plane.” This allows you to bring your 2D image directly into Blender’s 3D workspace.
- Adjust the scale and orientation of the image to fit your workspace.
-
Creating Depth (Displacement Mapping)
- You can use displacement mapping to add depth to your image. Displacement mapping is the process of altering the geometry of a model based on texture data (in this case, from the image).
- Use the “Sculpt” tool to adjust the surface of your 3D model, matching the depth suggested by the image. This process is more time-consuming, but it allows for precise control over the 3D model.
-
Refining the Model
- After adding depth, use the Subdivision Surface modifier in Blender to smooth out rough areas. This will give your 3D model a cleaner, more polished look.
- Apply materials and textures that match the colors and features in your original image. Blender has a robust texturing system that allows you to add fine details and realism.
Using Autodesk ReCap
-
Uploading the Image
- Open Autodesk ReCap and upload your image to the platform. If you’re using a single image, ReCap will analyze the depth, contours, and features of the image to generate a 3D model.
- The software uses advanced algorithms and AI to create an approximation of the object in three dimensions.
-
Automatic Depth Mapping
- ReCap will automatically process your image and create a 3D model by estimating the depth and volume of the object.
- The more detailed your image, the more accurate the 3D model will be.
-
Refining the Model
- Once the model is created, you can refine it by adjusting textures, smoothing out rough areas, or adding more detail where needed.
Step 4: Refining the 3D Model
After generating the 3D model, it’s time to refine the result. Here’s how to make your model look polished and realistic:
1. Smoothing the Model
Most 3D models require some smoothing to look professional. Blender’s Subdivision Surface modifier is a powerful tool for smoothing the model’s geometry. This helps eliminate rough or jagged edges, making the model more lifelike.
2. Adding Textures
Textures are essential for making your 3D model appear realistic. In Blender, you can apply UV Mapping, a process that involves mapping a 2D texture to a 3D object. For best results, match the textures in your image (e.g., colors, surfaces) to your model.
3. Adding Shadows and Lighting
Proper lighting and shadows enhance the realism of your 3D model. Blender has an extensive set of tools for adding realistic lighting and shadow effects, which will help to make your model appear three-dimensional and life-like.
Step 5: Exporting the 3D Model
Once your 3D model is complete, you’ll want to export it in the right format for your intended use. Common file formats include:
1. STL (Stereolithography)
Used mainly for 3D printing, the STL format is widely compatible with most 3D printers.
2. OBJ (Object File)
The OBJ format is often used for animations and video game assets. It supports both geometry and textures.
3. FBX (Filmbox)
FBX is widely used for 3D animation and game engines. It supports textures, animations, and rigging, making it suitable for advanced uses.
4. GLTF (GL Transmission Format)
GLTF is ideal for web-based 3D applications due to its fast loading times and lightweight nature.
Turning a single picture into a 3D model is an accessible and rewarding process. With the right software and techniques, you can create stunning 3D models from 2D images, whether for personal or professional projects. As 3D modeling technologies continue to evolve, tools like Blender, Autodesk ReCap, 3DF Zephyr, and Meshroom make it easier than ever to bring your ideas to life.
By following the steps outlined in this guide, you’ll be able to create high-quality 3D models from images with confidence, allowing you to explore new creative possibilities in fields ranging from gaming to architecture and beyond.
FAQs
-
Can I create 3D models from any image?
- Not all images work equally well. High-quality, well-lit images with simple backgrounds yield the best results.
-
Is Blender the best tool for beginners?
- Blender is powerful, but it has a steep learning curve. If you’re new to 3D modeling, you may want to start with simpler tools like Meshroom or Autodesk ReCap.
-
Can I 3D print a model created from an image?
- Yes, once your 3D model is complete, you can export it in STL format and 3D print it.
-
How long does it take to create a 3D model from a single image?
- It can take anywhere from a few hours to several days depending on the complexity of the image and the software you’re using.
Visit our other website: https://synergypublish.com


