“Mastering Adobe 3D Designer: A Beginner’s Guide to 3D Creation”

Adobe 3D Designer is a powerful tool that allows creators to bring their imagination to life in a three-dimensional space. Whether you’re a graphic designer, animator, or hobbyist, Adobe 3D Designer offers a wide range of features that make 3D design accessible to everyone. In this guide, we will walk you through the basics of using Adobe 3D Designer, from setting up your first project to exporting your 3D models.
Getting Started with Adobe 3D Designer
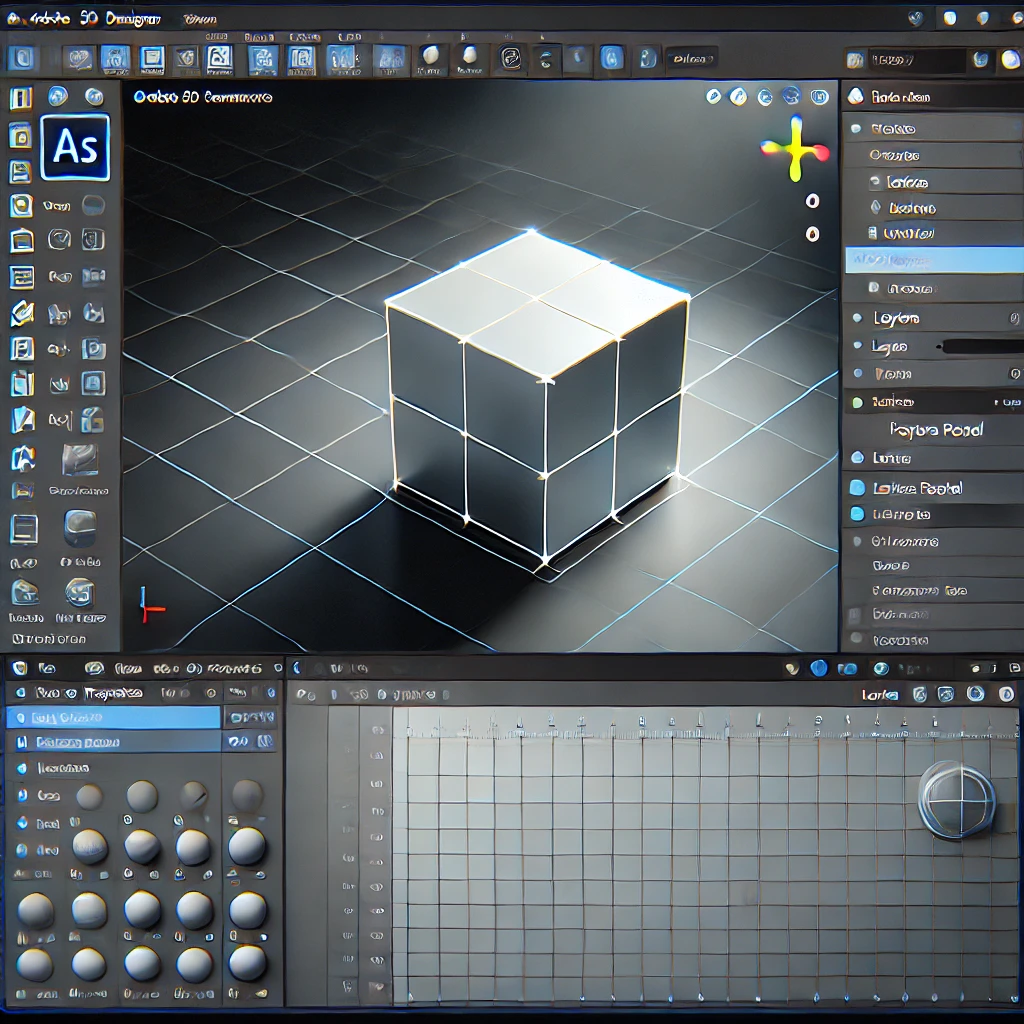
To begin using Adobe 3D Designer, you’ll first need to download and install the software from Adobe’s official website. Once installed, launch the program and familiarize yourself with the interface. The workspace is divided into several panels, including the Scene panel, Properties panel, and Layers panel, each serving a specific purpose in the design process.
Setting Up Your First Project
Start by creating a new project. Go to the “File” menu and select “New Project.” Choose your canvas size and 3D model format. Adobe 3D Designer supports various file formats, including OBJ, STL, and GLB, making it versatile for different types of projects.
Navigating the 3D Space
Navigating within the 3D space is crucial for effective design. Use the mouse to rotate, pan, and zoom in and out of your 3D model. The camera controls allow you to view your model from different angles, which is essential for making precise adjustments.
Building and Editing 3D Models
Adobe 3D Designer offers a range of tools for creating and editing 3D models. Use the basic shapes tool to add primitive shapes like cubes, spheres, and cylinders to your project. You can combine these shapes to create more complex models. The Properties panel allows you to adjust the dimensions, position, and material of each shape.
Applying Materials and Textures
Materials and textures bring your 3D models to life. Adobe 3D Designer includes a library of pre-made materials that you can apply to your models. Additionally, you can create custom materials by importing your textures or modifying existing ones.
Lighting and Rendering
Proper lighting is key to showcasing your 3D models effectively. Adobe 3D Designer offers various lighting options, including ambient, directional, and point lights. Experiment with different lighting setups to achieve the desired look. Once you’re satisfied with your model, use the render function to create high-quality images of your 3D design.
Exporting Your 3D Model
After completing your design, you can export it in various formats depending on your needs. Whether you’re planning to print your model or use it in a digital environment, Adobe 3D Designer makes it easy to export your work.
Conclusion
Adobe 3D Designer is an excellent tool for anyone looking to get started with 3D design. With its intuitive interface and powerful features, even beginners can create impressive 3D models. Follow this guide to begin your journey into the world of 3D design.


