“Mastering the Art of 3D Printed Lightsabers

Lightsabers have fascinated fans worldwide for decades, and now, with advances in 3D printing, anyone can craft their very own lightsaber replica. Whether you’re building it for a cosplay event, to display proudly at home, or simply to learn new skills, this guide provides an in-depth look at how to create a unique 3D printed lightsaber from start to finish.
This guide will take you through:
- The basics of 3D printing lightsabers
- Design options and tools
- Material selection
- Step-by-step printing instructions
- Advanced finishing techniques
- Adding electronic components
Understanding Lightsaber Design Basics
Before jumping into the creation process, it’s essential to understand some basics of lightsaber design. Classic lightsabers, as seen in Star Wars, are characterized by a few key elements:
- The Hilt: This is the handle where electronic components and power supplies are housed.
- The Blade: Typically crafted with transparent materials, it lights up with LEDs.
- Optional Details: Various buttons, ridges, and grooves can add realism and authenticity.
Popular Design Variants
- Jedi Lightsaber: Traditional silver and black tones with smooth, sleek designs.
- Sith Lightsaber: Usually features a more aggressive, jagged style with darker tones.
- Custom Lightsabers: Personalized designs combining elements from multiple sources.
Materials Needed for a 3D Printed Lightsaber
To achieve the best results, gather the following supplies:
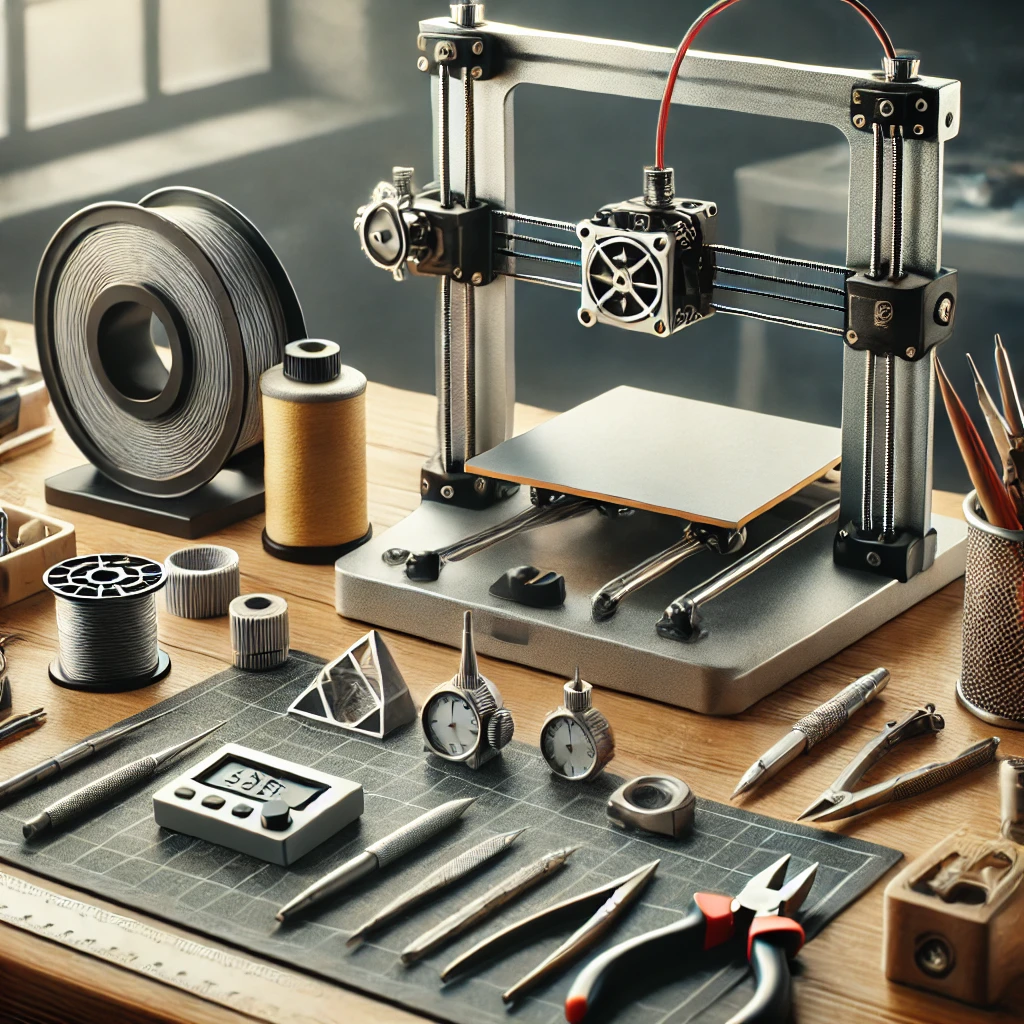
- 3D Printer
Any reliable printer with at least a 0.4mm nozzle and high print resolution is suitable. Options like the Creality Ender 3 or Prusa i3 MK3S are affordable and reliable for hobbyists. - Filament Types
- PLA: Ideal for beginners as it’s easy to print and paint.
- ABS: More durable and heat-resistant, though it can be trickier to work with.
- Finishing Supplies
- Sandpaper: For smoothing surfaces (recommended grits: 120, 220, 400).
- Primer and Paint: Grey primer and metallic spray paints work well.
- Epoxy or Superglue: For joining pieces.
- Clear Coat: To protect your paint finish.
- Electronic Components (Optional but highly recommended for realism)
- LED Light Strips: For illuminating the blade.
- Battery Pack: For powering the lights and sound effects.
- Sound Module: For those iconic hum and clash sounds.
- Microcontroller: A small microcontroller like an Arduino Nano can manage lighting effects.
Step 1: Designing or Sourcing Your Lightsaber Model
Using 3D Model Repositories
Several online repositories provide free or low-cost 3D models of lightsabers:
- Thingiverse
- MyMiniFactory
- Cults3D
Designing Your Own Lightsaber
For those who prefer a unique design, consider using software like Blender or Fusion 360 to create a custom model. These tools allow for greater flexibility in shaping the hilt, adding intricate details, and adjusting dimensions to fit your hand.
- Start Simple: Begin with basic shapes to form the hilt and add details as you refine your design.
- Focus on the Joinery: Ensure parts that need assembly will fit snugly, or consider adding screw-in sections.
Step 2: Setting Up the 3D Print
Achieving a high-quality print requires some setup and optimization.
- Orientation and Supports: Orient parts so that flat surfaces are on the build plate. Use supports for overhangs.
- Layer Height and Print Speed: Choose a layer height between 0.1 and 0.2mm for fine details and a slower print speed (40-50mm/s) for precision.
- Infill Settings: 20-30% infill should provide the hilt with enough durability without using excessive filament.
- Cooling and Retraction: Enable cooling for PLA prints, and adjust retraction settings to prevent stringing.
Step 3: Printing and Assembling Your Lightsaber
Each component will likely take several hours to print. Larger parts like the hilt may need to be split into smaller sections to fit on the print bed. Here are some key tips for assembly:
- Check for Fit: Dry-fit all components before gluing to ensure everything aligns.
- Joining Parts: Use strong adhesive, such as superglue or epoxy, to attach parts permanently.
- Secure Electronics: If you’re adding electronics, make sure all wires and components are secure inside the hilt before final assembly.
Step 4: Finishing Techniques for a Realistic Look
The finishing touches can elevate your lightsaber from a printed model to a lifelike prop.
Sanding
Sand all surfaces thoroughly, starting with lower grit (120) and moving up to higher grit (400) for a smooth finish. Focus on removing layer lines for a seamless look.
Priming and Painting
- Priming: Apply a coat of grey primer to give the paint a surface to adhere to.
- Base Coating: Use metallic spray paint for the hilt to mimic real metal.
- Detailing: Add accents like black grips, red buttons, or metallic highlights.
- Clear Coating: Seal your paint with a clear coat to protect against wear.
Weathering Techniques
For a battle-worn appearance:
- Use dry brushing with dark grey or black paint to add “scuff” marks.
- Apply a metallic silver dry brush to edges for a scratched, worn effect.
Step 5: Adding Electronics for Authentic Effects
To add electronics for lighting and sound, follow these steps:
- LED Installation
Insert LED light strips into a transparent blade section. Connect the LEDs to a battery pack housed in the hilt. - Sound Module Setup
If you want sound, add a small sound module programmed to produce the classic hum and clash sounds. - Microcontroller Integration
Use a microcontroller to synchronize light and sound effects. Program it to respond to movement for clash effects and to fade in/out with the power button.
Top Tips for Beginners
- Start Simple: Choose an uncomplicated design if it’s your first project.
- Plan for Failures: Expect some trial and error, especially if this is your first time with 3D printing or electronics.
- Take Breaks: Larger prints and intricate assembly can be time-consuming, so be patient.
Project Ideas for Advanced Customization
Once you’ve mastered the basics, consider adding advanced customizations:
- Dual-colored Blades: Use RGB LEDs to create color-shifting effects.
- Customizable Hilt Components: Design swappable pieces for versatility.
- Motion-Activated Sounds: Program sounds to trigger based on movement.
Troubleshooting Common Issues
Problem: Warping or Poor Adhesion
Solution: Use a heated bed and apply adhesive to the bed surface (e.g., glue stick).
Problem: Poor Detail in Small Features
Solution: Lower the layer height, and use a smaller nozzle for fine details.
Problem: Loose Fit on Assembled Parts
Solution: Use epoxy to fill gaps or adjust your design in software.


