Step-by-Step Guide to Designing and Printing Custom 3D Printed Exoskeletons

Learn how to design and print a custom 3D printed exoskeleton with this step-by-step guide. From conceptualizing the design to final assembly and testing for enhanced mobility.
Designing and Printing Custom 3D Printed Exoskeletons
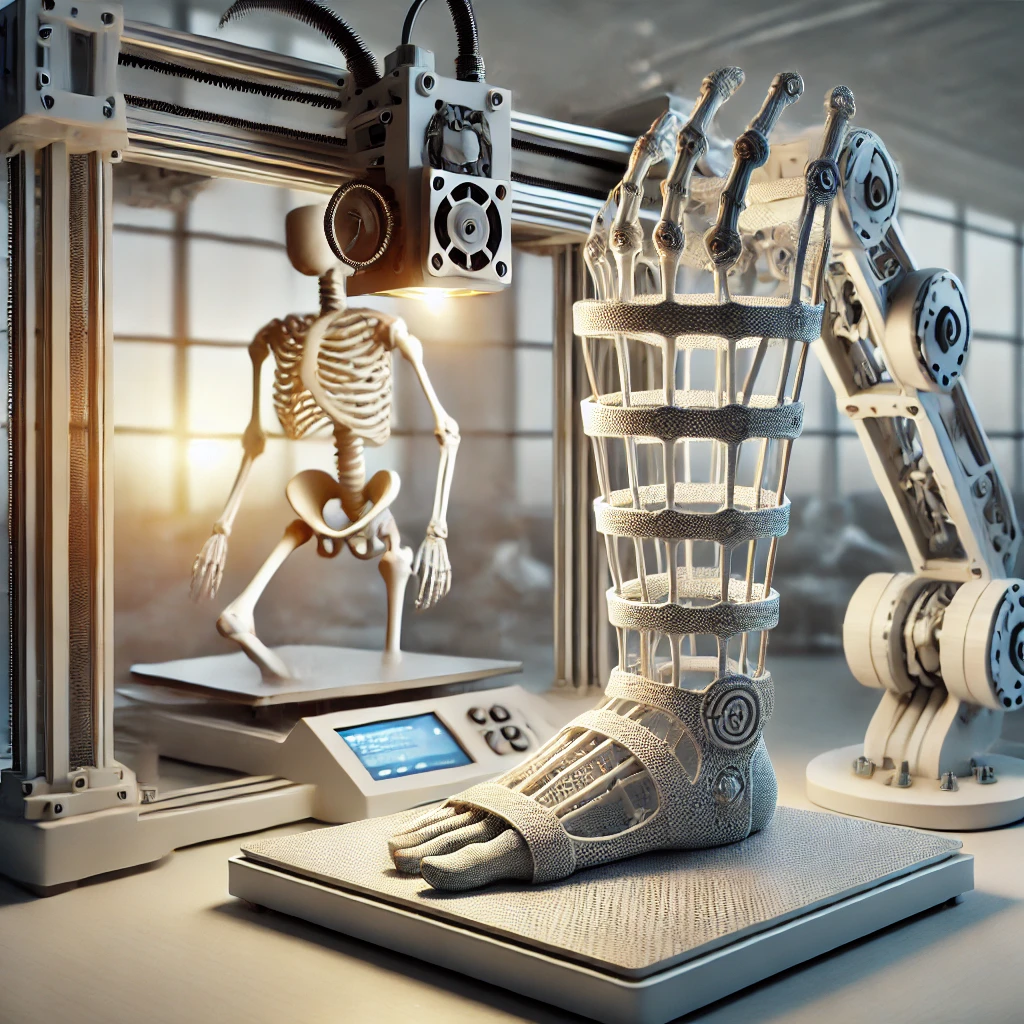
Designing and printing a 3D printed exoskeleton is a complex process that requires careful planning and execution. This step-by-step guide will walk you through the process, from conceptualizing the design to printing and assembling the exoskeleton that we discussed in our previous article https://master3dp.com/3d-printed-wearable-exoskeletons-enhancing-mobility-and-strength/
Step 1: Conceptualizing the Exoskeleton Design
Determine the Purpose: Begin by defining the purpose of the exoskeleton. Is it for rehabilitation, physical augmentation, or assistive technology? Understanding the intended use will guide your design process, including which body parts the exoskeleton will support and the range of motion required.
Analyze the User’s Needs: If the exoskeleton is for a specific individual, gather precise measurements and consider their mobility needs. Customization is key, so understanding the user’s physical capabilities and limitations will help in creating an effective design.
Step 2: Designing the Exoskeleton
Choose the Right Software: Use advanced 3D modeling software like SolidWorks, Fusion 360, or Rhino for designing the exoskeleton. These programs offer the tools needed to create complex, ergonomic designs that can accommodate movement and load-bearing requirements.
Create the Frame Structure: Design the basic structure of the exoskeleton frame, ensuring it provides adequate support while allowing for natural movement. Focus on the joints and hinges, which are critical for mimicking the body’s motion. Use the software’s simulation features to test the range of motion and identify any potential design issues.
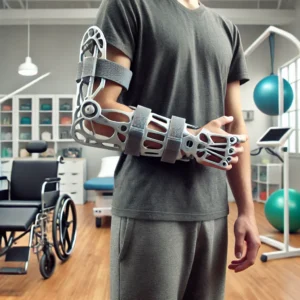
Incorporate Functional Features: Integrate features like adjustable straps, padding for comfort, and attachment points for electronic components if needed. Make sure to include areas for sensors, actuators, or other mechanisms if the exoskeleton is intended to be powered.

Step 3: Preparing the Design for 3D Printing
Optimize the Design: Use the software to optimize the frame for 3D printing, reducing material usage while maintaining strength. This may involve hollowing out certain sections or using lattice structures to minimize weight.
Check for Printability: Ensure that the design is printable by checking for overhangs, thin walls, or other features that might cause issues during printing. Modify the design as necessary to ensure a successful print.
Export the STL File: Once the design is finalized, export it as an STL file. This format is compatible with most slicing software and 3D printers.
Step 4: Selecting the Right Material and Printer Settings
Material Selection: Choose a material that offers the necessary strength, flexibility, and durability. Common options include PLA for lightweight parts, PETG for flexibility and impact resistance, or nylon for high-strength applications. Consider using composite materials like carbon fiber-infused filaments for additional strength.
Printer Settings: Set up your 3D printer with the appropriate settings for the chosen material. Use a layer height that balances detail with print time, and ensure the print bed is leveled for optimal adhesion. Depending on the complexity of the design, you may need to use a larger build volume printer.
Step 5: Printing the Exoskeleton Components
Start the Print: Begin the printing process and monitor the initial layers to ensure proper adhesion and alignment. Exoskeleton components can be complex and may require a long print time, so be prepared for a multi-hour or even multi-day printing process.
Quality Control: Once the print is complete, inspect the components for any defects or irregularities. Check that all parts are printed to the correct dimensions and that the fit is as expected.
Step 6: Post-Processing and Assembly
Remove Supports: Carefully remove any support structures from the printed parts. Use tools like pliers or a craft knife for precision. Sand down any rough edges or surfaces to ensure a comfortable fit against the user’s body.
Assemble the Exoskeleton: Begin assembling the exoskeleton by connecting the joints and hinges. If the design includes electronic components, such as sensors or actuators, install them during this stage. Test each joint for smooth movement and make any necessary adjustments.
Fit Testing and Adjustments: Have the user wear the exoskeleton and test its fit and functionality. Make adjustments as needed to ensure comfort and proper support. This may involve tweaking the tension of straps, adding padding, or adjusting the alignment of the components.
Step 7: Final Testing and Calibration
Movement Testing: Conduct a series of movement tests to ensure that the exoskeleton operates smoothly and provides the intended support. For powered exoskeletons, test the responsiveness and accuracy of the control systems.
Calibration: If the exoskeleton includes sensors or actuators, calibrate the system to the user’s movements. This ensures that the exoskeleton moves in sync with the user’s natural motion, providing the necessary assistance or resistance.
Designing and printing a custom 3D printed exoskeleton is a complex but rewarding process that combines engineering, biomechanics, and creativity. By following these steps, you can create an exoskeleton that enhances mobility, strength, and quality of life. With advancements in 3D printing technology and materials, the possibilities for creating innovative and effective exoskeletons are continually expanding.
For more in-dept information on the Overview of 3D Printed Exoskeleton Materials and Opportunities for Their AI-Based Optimization visit the MDPI website at https://www.mdpi.com/2076-3417/13/14/8384


