Guide to Designing and Printing Custom 3D Printed Optical Lenses

Learn how to design and print custom 3D optical lenses with this step-by-step guide. From optical design principles to post-processing, create lenses with precision and clarity
Designing and Printing Custom 3D Printed Optical Lenses
Designing and printing optical lenses requires a high degree of precision and understanding of optical principles. This guide provides a step-by-step approach to creating custom 3D printed lenses, from design to post-processing, ensuring the best possible optical performance that we discussed in our previous article https://master3dp.com/3d-printed-optical-lenses-revolutionizing-precision-optics-and-customization/
Step 1: Understanding Lens Design Principles
Optical Basics: Before you begin designing your lens, it’s important to understand the basic principles of optics, such as focal length, refractive index, and aberration correction. These principles will guide your design process and help you create a lens that meets your desired optical specifications.
Lens Types: Decide on the type of lens you want to create, such as a convex, concave, aspherical, or Fresnel lens. Each type has unique properties and applications. For example, aspherical lenses are used to reduce spherical aberrations, while Fresnel lenses are designed to be thin and lightweight.
Step 2: Designing the Lens Using 3D Modeling Software
Choose the Right Software: Use specialized optical design software like Zemax, OpticStudio, or even SolidWorks with optical design plugins. These tools allow you to simulate and optimize the lens design before printing.
Modeling the Lens: Begin by creating the basic geometry of the lens in the software. Define the curvature, thickness, and diameter of the lens based on the desired focal length and optical properties. Use the software’s simulation features to test how light will pass through the lens and adjust the design as needed.
Fine-tuning the Design: Incorporate features like anti-reflective surfaces or corrective elements to minimize optical aberrations. Pay close attention to the surface quality and ensure that the design is optimized for 3D printing.

Step 3: Preparing the Design for Printing
Check for Printability: Ensure that the lens design is suitable for 3D printing. The model should be free of defects and have a sufficient thickness to maintain structural integrity during printing. Use the software’s analysis tools to identify and fix any potential issues.
Export the STL File: Once the design is finalized, export it as an STL file. This format is widely compatible with most 3D printers and slicing software.
Step 4: Selecting the Right Material and Printing Process
Material Selection: Choose a material that offers high optical clarity and the correct refractive index for your application. Common materials for 3D printed lenses include clear photopolymers or resin. Ensure the material is compatible with your 3D printer and can produce a smooth surface finish.
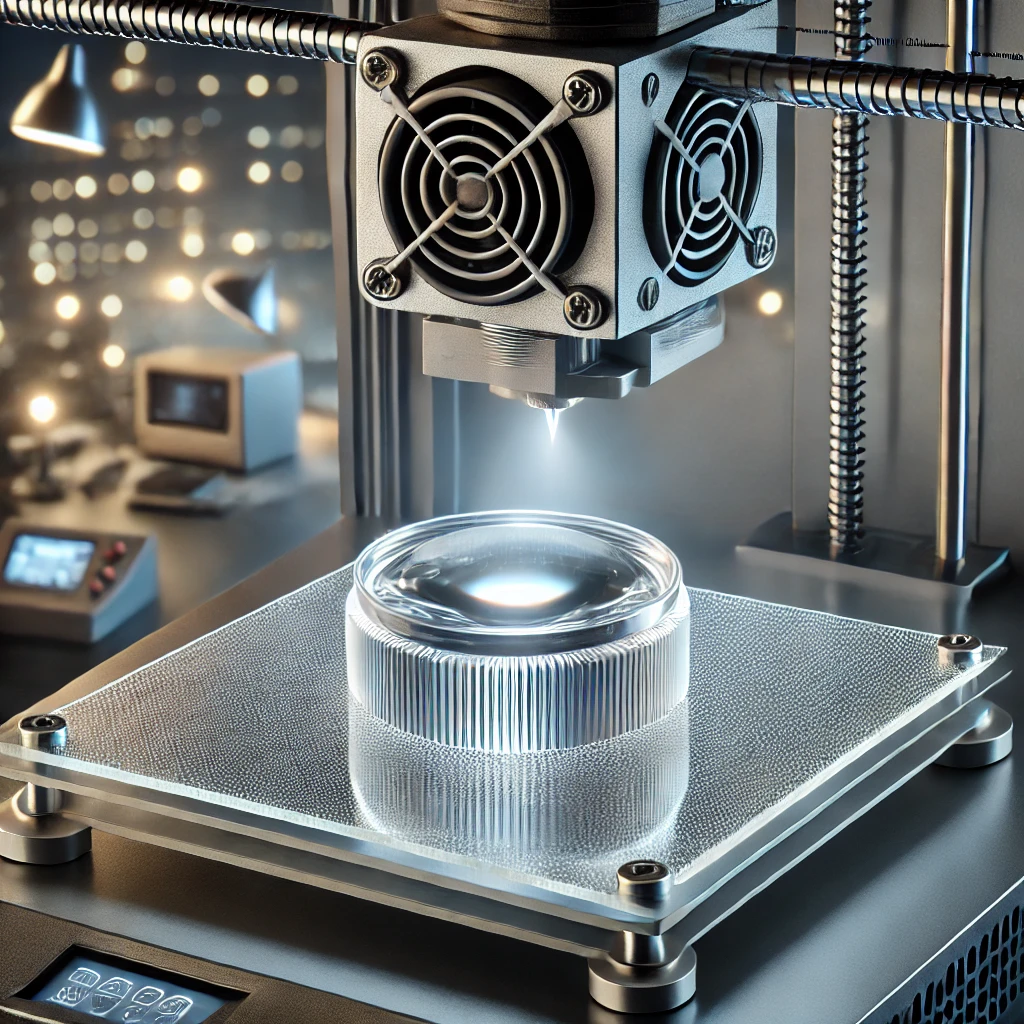
Printing Process: Select a 3D printing method that provides the precision and surface quality required for optical lenses. Stereolithography (SLA) and Digital Light Processing (DLP) printers are commonly used for this purpose because they offer high resolution and smooth finishes.
Step 5: Printing the Lens
Prepare the Printer: Set up the 3D printer with the appropriate material and settings. Ensure that the build platform is clean and level. Use a fine layer height (e.g., 0.05mm or less) to achieve a smooth surface finish on the lens.
Start the Print: Begin the printing process and closely monitor the initial layers to ensure proper adhesion. Optical lenses require high precision, so it’s important to watch for any irregularities during the print.
Print Time: The print time will depend on the size and complexity of the lens. Small lenses may take a few hours, while larger or more intricate designs could take longer.
Step 6: Post-Processing the Lens
Cleaning and Curing: After printing, carefully remove the lens from the build platform and clean it using isopropyl alcohol (IPA) to remove any uncured resin. Cure the lens using a UV light source to fully harden the material.
Surface Polishing: To achieve optical clarity, the lens surface may require polishing. Start with fine-grit sandpaper (e.g., 600-1200 grit) and gradually move to a higher grit for a smoother finish. For a final polish, use a polishing compound and a soft cloth.
Coating (Optional): Apply an anti-reflective or protective coating to the lens if needed. This can enhance the optical performance and durability of the lens, especially if it will be used in harsh environments.
Step 7: Testing the Lens
Optical Testing: Conduct optical tests to evaluate the lens’s performance. Use an optical bench or test setup to measure parameters such as focal length, light transmission, and aberrations. Compare these results to the design specifications to ensure the lens meets the desired criteria.
Adjustments and Iterations: If the lens does not perform as expected, make adjustments to the design and reprint if necessary. Iterative testing and refinement are often required to achieve the optimal optical performance.
Designing and printing custom 3D optical lenses is a complex process that requires a careful balance of design, material selection, and post-processing. By following these steps, you can create high-quality lenses tailored to specific applications, whether for eyewear, scientific research, or imaging systems.
The ability to rapidly prototype and produce custom lenses with 3D printing opens up new possibilities in the field of optics, enabling innovations that were previously out of reach.
For more in-dept information on this visit the Photonics at https://www.photonics.com/Articles/3D_Printing_Creates_New_Optical_Possibilities/a68317


